Paper collage is art made by tearing or cutting paper into pieces and gluing them in layers onto a sturdy base. This guide gives you 4 paper collage art ideas, from a torn paper landscape to a magazine portrait, plus the glue and sealing rules that keep thin paper flat.
Most pages online treat collage as a child’s afternoon craft. They rarely say which glue stops the paper from warping, how to protect the finished piece, or what to do when your magazines have no quiet colours.
The ideas, the numbers and the licence check below fill that gap, and you can start with scraps from your recycling bin. I always lay the whole picture out without glue first, and I suggest you do the same. If your scraps run out, the Torn Paper Edges come as 29 PNG files with transparent backgrounds.
What paper collage is and which idea to start with
Paper collage is the art of building a picture from separate pieces of paper, glued down in layers. You judge a good one by its layers and contrast, not by how well you draw.
Search interest is large: Pinterest searches for paper collage art run at about 68 thousand, and the plain phrase at about 57 thousand. The idea phrase is the one growing fastest, up 11 percent, so people are looking for something to make, not a definition. I started with torn paper because it is the least scary, and I think most beginners should too. If your scrap box is empty, the Old Paper Textures give you aged sheets to print and tear.
A paper collage works when you arrange every piece before you glue and keep the edges of the paper doing the talking.
The 4 ideas at a glance
- Torn paper landscape: soft hills from torn strips, the easiest start.
- Vintage memory postcard: ticket stubs, maps and old pages for a journal spread.
- Magazine cutout portrait: a face built from tones, not lines.
- Three-colour shape collage: modern, clean and forgiving.
If you only need to know why your paper warped, jump to the glue section, then come back for the ideas. I wrote the sections so you can read them in any order. For a quick first try with no shopping, tear a sheet of old newspaper and start with idea 1.
What you need before you tear anything: base, paper, glue
A paper collage needs three things: a firm base, a pile of paper in different tones, and glue that suits the thinnest sheet you use. Thin paper warps from the moisture of the glue, so the base matters more than the scraps.
The short list
- Base: heavyweight watercolour paper, cardstock or thin cardboard, not printer paper.
- Paper: magazines, catalogues, maps, old book pages, wrapping paper, junk mail, old calendars.
- Cutting: scissors, plus a craft knife and cutting mat for small inner shapes.
- Glue: a glue stick for thin sheets, white craft glue for heavy cardstock.
Sort your paper into three piles before you start: dark, medium and light. I do this every time, and it takes five minutes and it makes every idea below easier, because you pick a tone instead of hunting through the box.
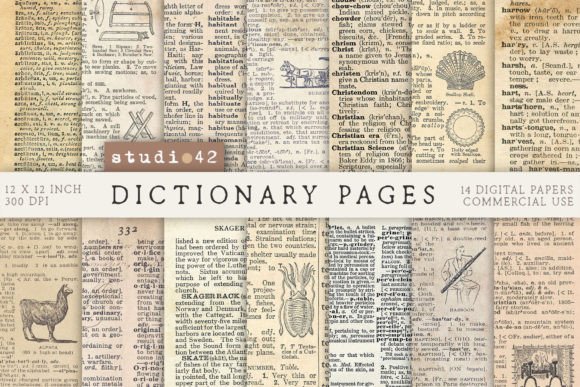
Aged book pages are hard to find at home, so I sometimes print the Old Dictionary Pages Digital Papers on plain paper and tear those.
Where it breaks: a base that is thinner than the paper on top of it. If the base curls when you touch it with glue, swap it for cardstock before you lose the piece.
Idea 1: A torn paper landscape with soft hills
A torn paper collage landscape is the easiest first idea, because hills, clouds and trees do not need to be symmetrical. Tearing leaves a soft, fibrous white edge that looks like mist on the far hills.
How to build it
- Tear a wide strip of pale blue paper for the sky and lay it across the top of the base.
- Tear three wavy strips of green, brown or old map paper for the hills, light colours at the back.
- Add a circle for the sun and one small tree in the foreground.
- Take a photo of your layout, then lift each layer and glue it from the back forward.
I once tore all my hills at the same height, and the picture looked like a striped flag. Where it breaks: hills that are all the same width. Tear each strip at a different height so the edges do not line up. Torn edges also show a white fringe, which is fine on a light hill and distracting on a dark one, so use light paper for torn edges that should show.
Torn Paper Edges (5.0 stars, 12 reviews)
A pack of 29 PNG images with transparent backgrounds, made from old book bindings and pages, 300 dpi.
Good for adding a real ripped edge to a digital or printed landscape. Skip it when you only want to tear paper by hand.
For a frame around the finished scene, the Ripped Paper Frames Png arrive as 12 PNG files plus AI and EPS sources.
Idea 2: A vintage memory postcard from ticket stubs and maps
A vintage paper collage turns small paper souvenirs into one memory page. Ticket stubs, map corners, old stamps and handwritten lines work as a layer, so the page tells a place, not just a pattern.
What a good vintage postcard includes
- One large piece: a map or book page as the anchor.
- Two or three medium pieces: a ticket, a stamp, a label.
- A few small bits: a line of handwriting or a date to fill gaps.
- A limited palette: cream, brown and faded colour, so the pieces sit together.
Where it breaks: too many souvenirs. Five pieces on a postcard look planned, and with fifteen you will look like you emptied a drawer. Keep one piece back for the next page. I stop at five on a page, and I leave the sixth for the facing one.
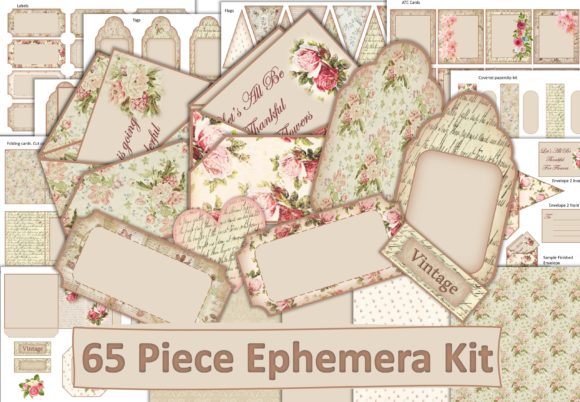
Shabby Chic Ephemera Kit (5.0 stars, 12 reviews)
A printable kit of 65 pieces over 14 pages, as JPEG and PDF, with every element also supplied as PNG.
Good for a vintage postcard when you do not own enough old paper. Skip it for a modern look.
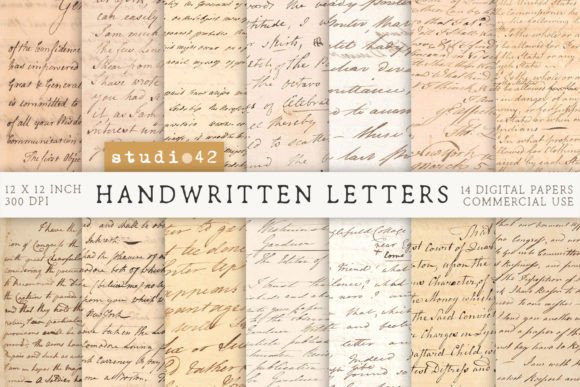
For text in the background, the Old Dictionary Pages Digital Papers give you 14 scanned pages at 300 dpi, and the Handwritten Old Letters Printables add old script.
Idea 3: A magazine cutout portrait
A paper collage portrait is painting with paper: you build a face from small pieces sorted by tone, not from lines. Magazines are ideal because one issue holds a wide range of skin tones, shadows and hair textures.
How to build it
- Sketch a plain outline of a face, and leave the inside of it empty.
- Sort your cuttings into darks, mediums and highlights.
- Fill the shadows first, then the mid-tones, then the highlights, like a puzzle.
- Keep the eyes and mouth minimal, and spend your effort on hair or clothes.
When you cut a figure from a magazine, cut slightly inside the printed border. That removes the original background line, so the figure sits inside your new picture.
Where it breaks: glossy pages that all have the same bright tones. A face needs soft, muted browns and greys, and a magazine rarely has enough of them. This is the idea where home scraps run out first, and in my own pile the muted tones were gone by the second face.
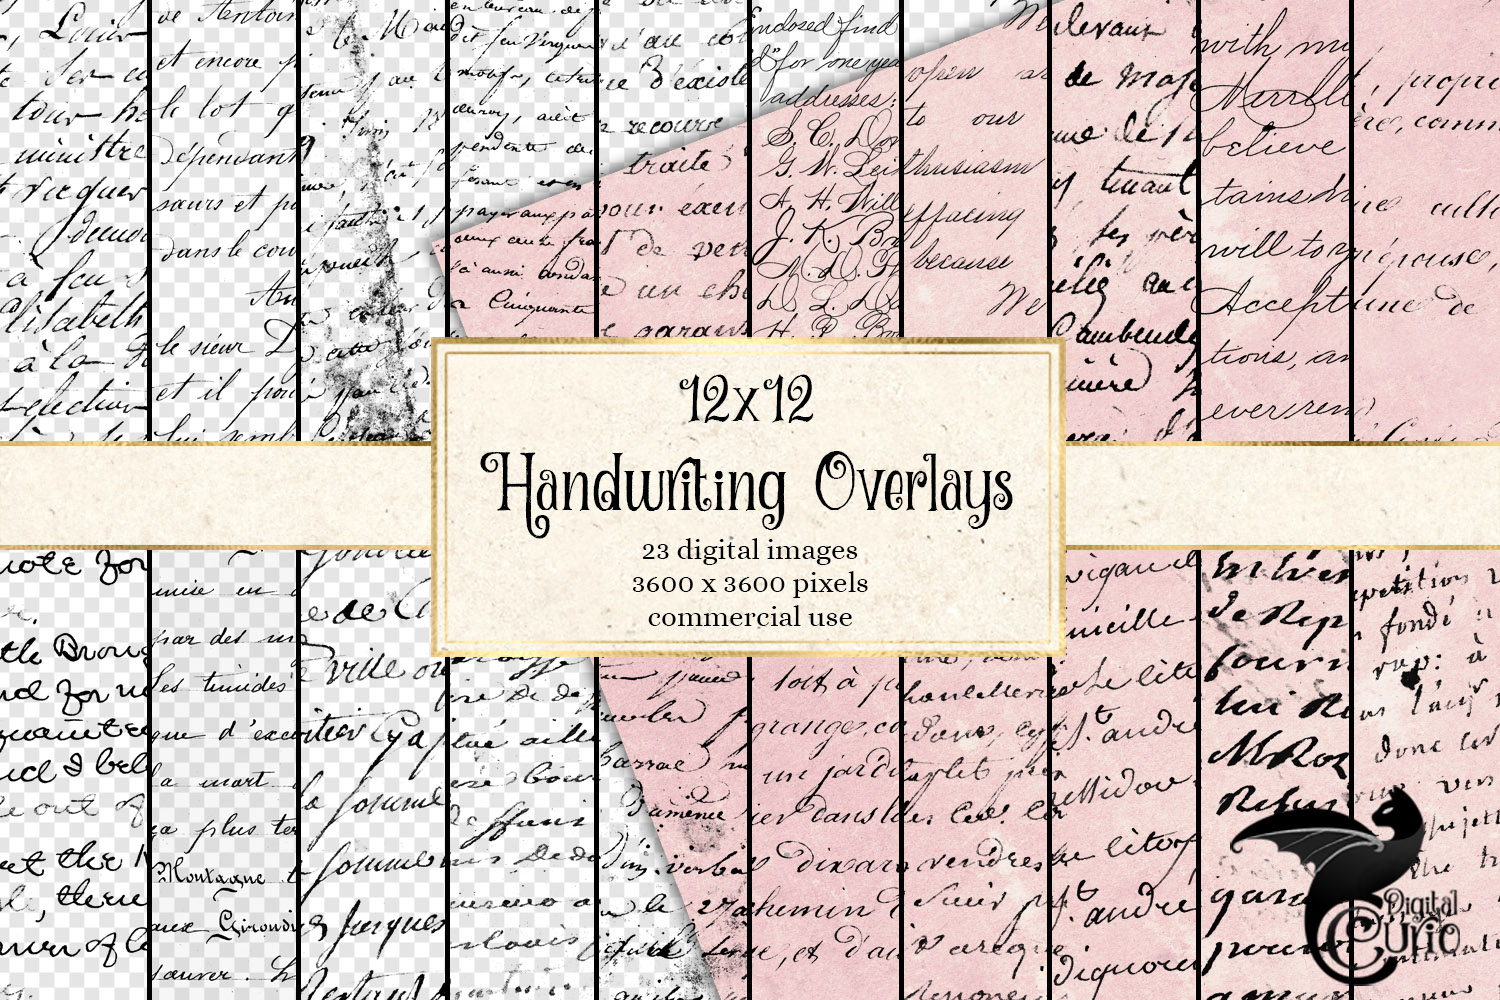
Old Handwriting Overlays (5.0 stars, 14 reviews)
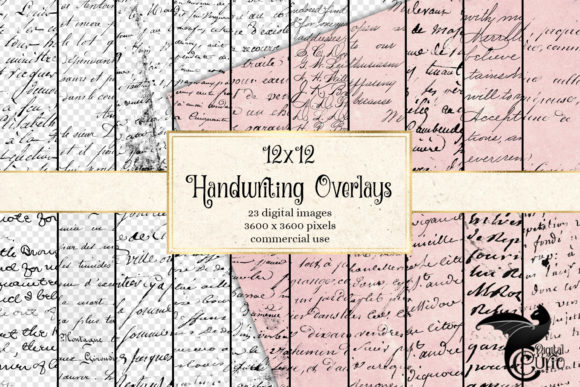
A set of 23 images at 12 x 12 inches, made from scans of antique letters, bills of sale, deeds and journals.
Good for hair, clothes or a background texture on a portrait. Skip it when you want a plain background.
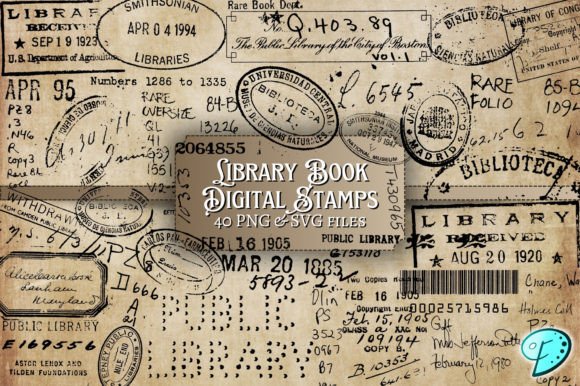
For a stamp-style detail, the Library Book Digital Stamps come as 40 PNG and 40 SVG files with transparent backgrounds.
Idea 4: A three-colour shape collage
A shape collage is the most forgiving idea, because abstract shapes cannot look wrong. Cut blobs, triangles and half circles in three colours, and rearrange them until the balance feels right.
What makes it look modern
- Three colours: pick two papers and one accent, repeated across the page.
- Different sizes: one big shape, a few medium ones, a few small ones.
- Space around the shapes: a clear margin, so the page can breathe.
A good variation is a rainbow filled with the same colour in different papers: one red layer from construction paper, one from tissue, one from a magazine page. The colour stays the same while the texture changes.
Where it breaks: gluing too early. Shapes look different once neighbours are in place, so I move them for ten minutes before any glue touches the page.
Colorful Digital Textures Bundle (4.7 stars, 12 reviews)
A bundle of 192 digital papers in 13 solid colour texture sets.
Good for printing your own plain colour sheets for shape collage. Skip it when you want only hand-torn paper.
Tear or cut: which edge suits which idea
You tear paper for soft, natural shapes and cut it for sharp, graphic ones. You will find that the edge changes the mood of the page more than the colour does.
- Torn: landscapes, clouds, hair, anything soft. Rough, white-edged seams look rustic.
- Cut with scissors: shapes, portraits, buildings. Crisp lines look clean and modern.
- Mixed: cut the main subject, tear the background, so the subject stands out.
To tear a straight-ish line, fold the paper, wet the fold with a brush and pull it apart. That gives a soft fibre edge even on thick paper. Where it breaks: tearing glossy magazine paper. You get a flat edge and no fibre, so cut it instead. For a torn look on a printed page, I use the Ripped Paper Frames Png as a border, because I cannot tear a clean frame by hand.
Which glue keeps thin paper flat
The best glue for paper collage depends on the paper: a glue stick keeps thin sheets flat, and a liquid medium applied with a brush works for heavier layers. The more water in the glue, the more your paper curls, so you should use less than you think.
Glue by paper type
- Tissue and magazine pages: a glue stick, or a thin brushed layer of gel medium.
- Cardstock and construction paper: white craft glue in a thin, even layer.
- Layers on top of layers: glue the back, not the edges, and press from the centre outwards.
Work from the background forward, and smooth each piece with a clean finger to push out air bubbles. Leave the collage flat while it dries, ideally under a heavy book. If paper hangs over the edge of the base, turn the collage over and trim the overhang from the back.
Where it breaks: wet glue on one side of thin paper. The side that took the glue stretches, the other does not, and the sheet curls. Glue the whole piece, not only the middle. I test any new glue on a scrap of a printed sheet first, such as one page from the Colorful Digital Textures Bundle, before it touches the real piece.
How to seal a paper collage so it lasts
Here is how to seal paper collage art: brush a thin coat of gel medium or Mod Podge over the dry surface. It locks your edges down and protects the paper from dust and fingerprints.
The sealing steps
- Wait until your glue is completely dry, at least a few hours.
- Brush on a thin coat in one direction with a soft brush.
- You let it dry, then add a second thin coat for a stronger finish.
- You keep the finished piece flat and out of direct sun.
You can choose a matte finish for a vintage look and a gloss finish for a bright shape collage. Where it breaks: a thick coat. It wrinkles thin paper and shows brush marks, so two thin coats beat one thick one. Test on a scrap before you touch the real piece. I seal printed papers, like the Handwritten Old Letters Printables, with extra care, because inkjet ink can smear under a wet brush, and I wait a full day before I coat them.
Scraps from home or printable collage papers: what you can do with each
Scraps from home are free and perfect for your own page, and that is also where their limit sits. You may collage them into a journal or a gift, but you cannot sell a card or print made from photos you did not take.
Where home scraps run out
- Completeness: you rarely have the right tones, old maps, tickets or ripped edges in the colour you need.
- Licence: magazine photos belong to someone else, so a sold print is a problem.
- Format: a scan of scraps comes out at low resolution with background stripes, and you cannot copy a good piece.
Scraps are enough for a first page, and I use them for most of mine. For a clean ripped edge, a repeatable texture or a collage you plan to sell, check for a licence that covers it. The Old Paper Textures set has 14 old parchment papers as PNG with backgrounds removed, and it carries 8 reviews at 5.0 stars. You should read the licence on the product page before you sell anything.
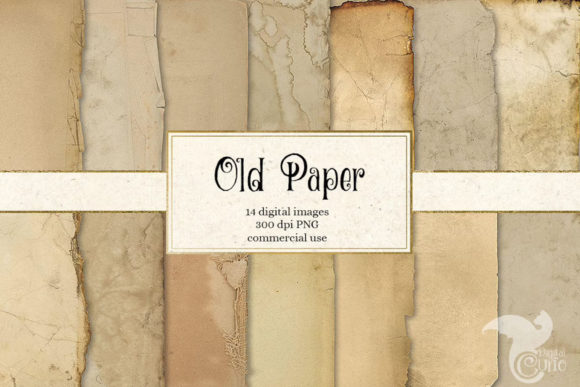
Old Paper Textures (5.0 stars, 8 reviews)
A set of 14 old parchment papers as PNG with the backgrounds removed.
Good for layering aged paper under a collage you want to reuse. Skip it when you prefer to tear your own.
For handwriting on top of aged paper, the Old Letter Transparent Overlays are 20 PNG files at 3000 x 3000 pixels.
Paper collage FAQ
What paper is best as a collage base?
Heavyweight watercolour paper, cardstock or thin cardboard. Printer paper is too thin and curls under glue.
What kind of glue works best for paper collage?
A glue stick for thin papers, white craft glue for cardstock, and gel medium or Mod Podge for the top coat.
How do I avoid wrinkles when gluing paper?
Use a thin even layer, glue the whole back of each piece, smooth it outwards and dry the collage flat under a book.
How do I seal a paper collage?
Brush two thin coats of gel medium or Mod Podge over the dry surface, letting each dry before the next.
How do I protect a paper collage?
Seal it, keep it flat, and hang it out of direct sun. A frame with a mat keeps the glass off the paper.
What is paper collage?
It is an art form where pieces of paper are cut or torn and glued in layers to make one picture.
How do I make a paper collage without drawing skills?
Start with torn shapes, such as hills and clouds. You do not draw, you arrange, and torn edges hide small mistakes.
Can I use old magazines for a collage?
Yes. Cut slightly inside the printed border and sort the pieces by tone. Magazines are fine for your own page, though not for selling a print.
What are easy abstract paper collage ideas for beginners?
Three-colour shapes are the easiest. Cut blobs, triangles and half circles, and move them around before gluing.
Can I sell a paper collage?
Not if it uses photos or art from magazines. A licensed set such as the Torn Paper Edges is safer, but check the licence on the product page.
Which collage to make first
| Your situation | Start with | Check first | What finishes it |
|---|---|---|---|
| First collage ever | Idea 1: torn landscape | Different strip heights | Glue from the back forward |
| Journal or memory page | Idea 2: vintage postcard | No more than five pieces | Two thin coats of sealer |
| You want a challenge | Idea 3: magazine portrait | Muted tones in your pile | Cut inside the printed border |
| Modern, clean page | Idea 4: shape collage | Three colours only | Space around each shape |
| Thin paper keeps curling | Any idea, on cardstock | A firm base | Dry flat under a book |
Picking a starting point
If you are unsure, tear the landscape first: it is forgiving and shows you at once how your glue behaves. For the vintage look, the Shabby Chic Ephemera Kit covers the postcard, and the Torn Paper Edges cover the landscape.
The same pieces work for junk journal ideas, scrapbook layouts and pressed flower art, where a torn edge often finishes the page. A lettered title from hand lettering sits well next to them.
Before you glue the final piece, confirm:
- The base is firm enough not to curl under glue.
- You arranged every piece and took a photo first.
- The glue suits the thinnest paper in the pile.
- You will seal with thin coats once it is dry.
- You checked the licence if you plan to sell the result.