If your junk journal looks messy and you can’t say why, the problem is almost never your stash. It’s the order you glue things down in. Every spread in this post is built the same way: one background sheet, one big piece, a few small bits along the edge, a line of words. That’s it.
Work in that order and a page of grocery receipts and junk mail reads as a finished spread instead of a pile. Below are 15 junk journal ideas, and for each one I’ve written out what sits on every layer and roughly how many pieces belong there, so you’re never guessing how much is too much. The first four are easy junk journal ideas that need one printed sheet and nothing else.
I’ve kept junk journals for years and filled more than 30 of them, most from paper I printed at home on an ordinary inkjet. The layer order is the one thing I’d hand a beginner before anything else.
Quick answer: build every spread in four passes, always in this order.
- Background: one sheet that covers most of the page.
- Big piece: one item your eye lands on first, placed off-centre.
- Small bits: three or four, grouped along one edge or corner.
- Words: one line, written last.
Nine or ten pieces per spread is the ceiling. Past that a page stops reading as a page.
Start with the one layer your letterbox can’t supply
The old-looking layer is the one you cannot collect from this year’s post, so it is the layer worth printing.
These three sheets are the ones I reach for on a page that has gone flat. More of the same kind live in junk journal supplies and printables.
Unlimited creative assets. Access to AI tools.
Commercial licence included.
How I test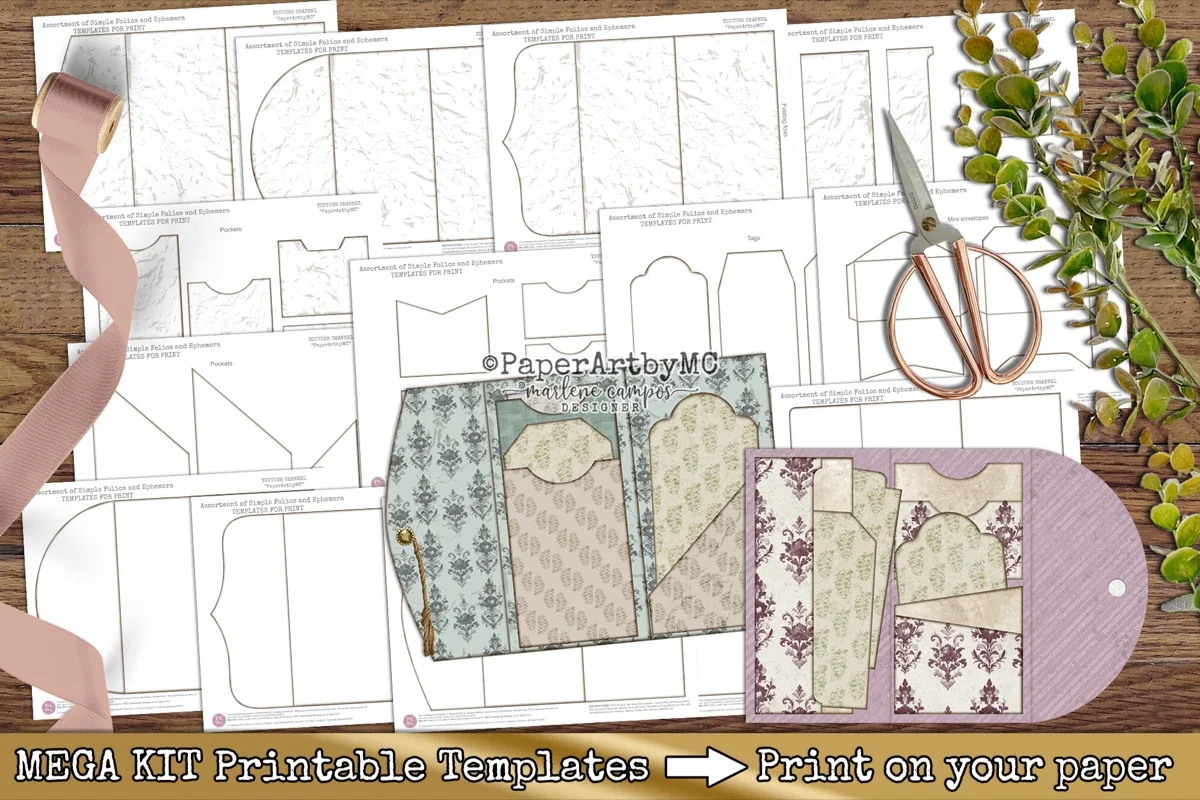
Junk Journal Folio Templates Mega Kit
Printable folios, envelopes and pockets sized for standard letter paper, so the pocket page in this post is a print and a fold instead of a measuring job.
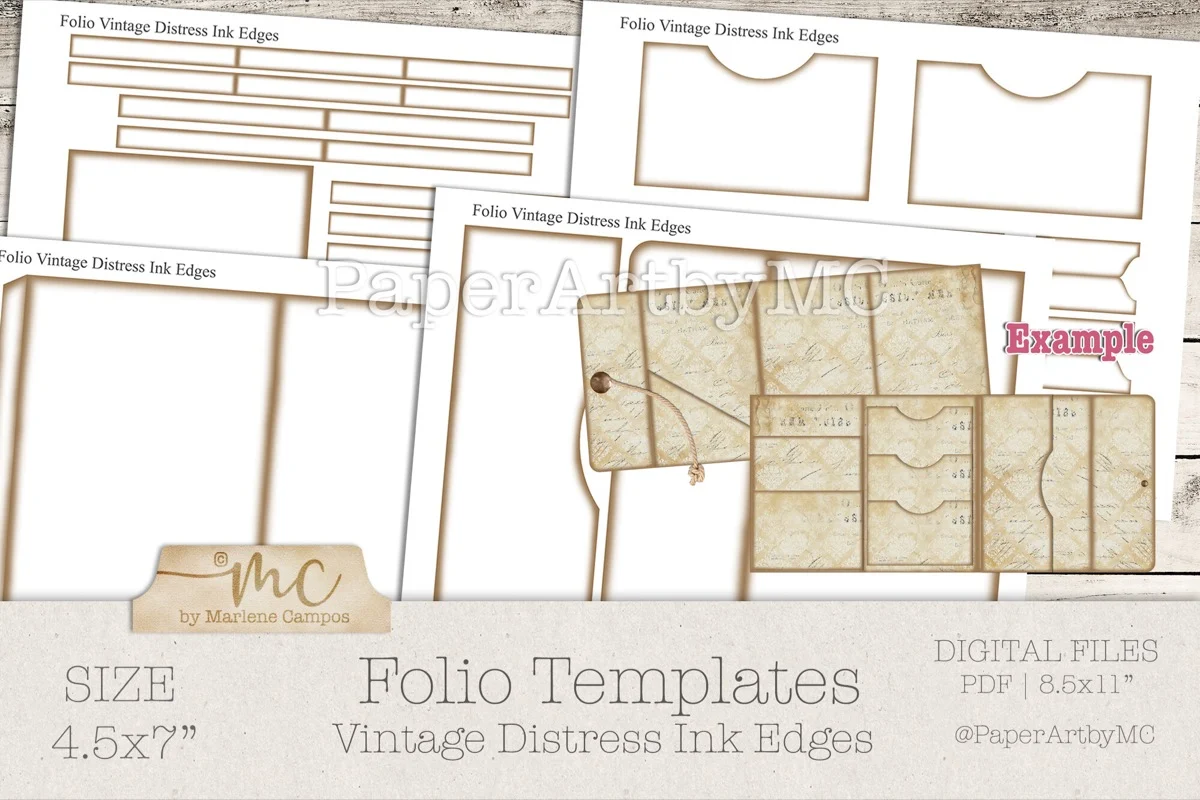
Junk Journal Folio Templates, Vintage
Blank pages with aged edges already drawn in. Print these as your background layer and the rest of the spread has something to sit on.
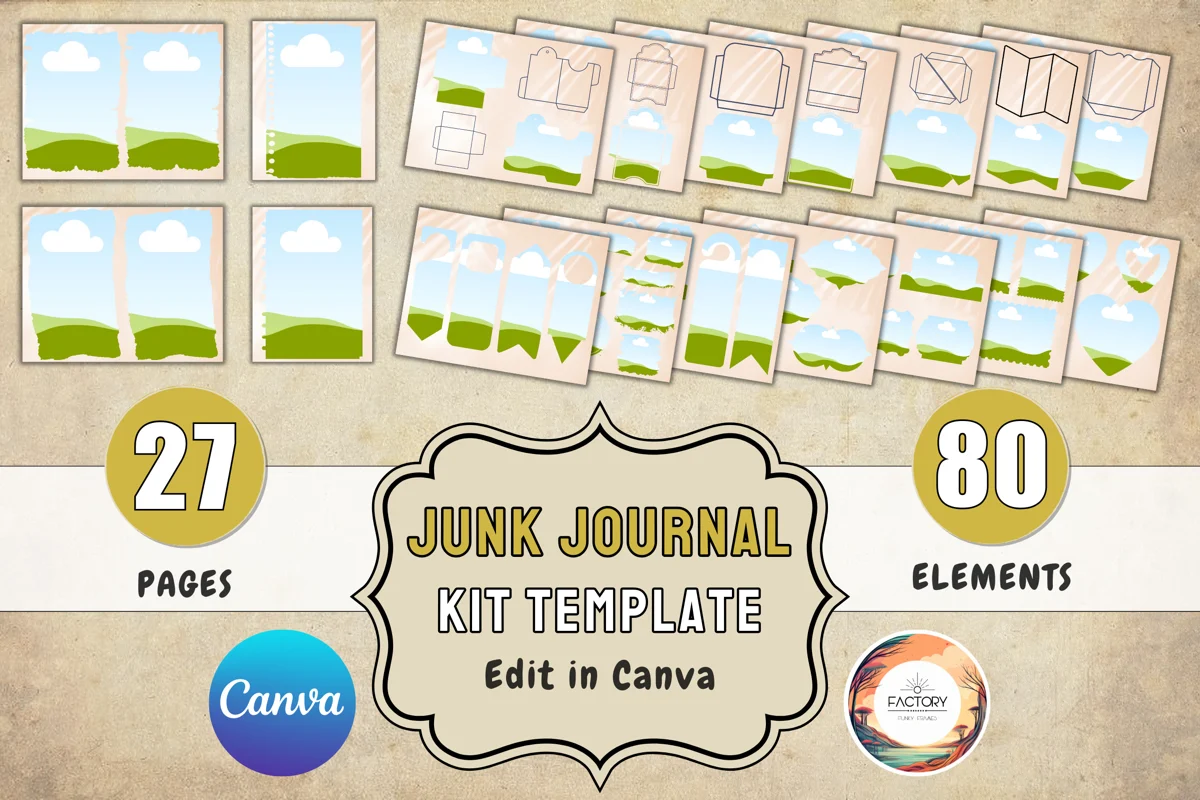
Junk Journal Template Canva Journal Page
Editable page frames if you’d rather set the words before you print, which is the easiest way to get a first page that isn’t blank.
Junk journal ideas for beginners: your first spread in four layers
The reason a first page feels impossible is that you’re trying to decide everything at once. Don’t. Decide one layer at a time, in this order.
- Layer one, the background: one sheet that covers most of the page. An old book page, a piece of brown paper bag, a printed sheet of old paper texture. One piece, not a collage.
- Layer two, the big piece: one item that your eye lands on first. A photo, a ticket, a label off a tin, a pressed leaf. Place it off-centre, not in the middle.
- Layer three, the small bits: three or four pieces along one edge or one corner. Stamps, torn strips, a tag, a scrap of lace. Keep them touching or overlapping the big piece so they read as one group.
- Layer four, the words: one line. A date, a place, a sentence. Written straight onto the page or onto a strip of paper glued down last.
That’s the whole method. Nine or ten pieces on a spread, arranged in four passes.
A junk journal spread is built in four passes, in this order: one background sheet, one big piece placed off-centre, three or four small bits grouped along one edge, and one line of words written last. Nine or ten pieces per spread is the ceiling.
| Layer | How many | What works |
|---|---|---|
| Background | 1 | Book page, paper bag, printed paper texture |
| Big piece | 1 | Photo, ticket, tin label, pressed leaf |
| Small bits | 3-4 | Stamps, torn strips, a tag, a scrap of lace |
| Words | 1 line | A date, a place, one sentence |
The background is the layer worth printing when the stash runs bland: a sheet of printed old paper texture does the job of a page you did not have to find.
More layering walkthroughs sit in junk journal ideas and layouts.
Now the part nobody says out loud: your first spread is allowed to be crooked. Messiness is part of the charm of this craft, and there are no mistakes in it. A writer with years of journals behind her admitted she stared at her own blank journal for a solid week before she glued anything down, so the fear of spoiling it is not a beginner problem. It’s the standard problem.
Pro tip: glue the background layer down first and close the book on it for ten minutes under something heavy, so the page dries flat before you add anything on top.
Here’s how I check a spread before the glue sets. I stand up and look at it from a step back. If my eye can’t find one clear main piece in under a second, there are too many things of the same size on the page, and the fix is to take one or two of them off, not to add more.
What goes wrong in week three
Adhesive is the one thing worth caring about early, because the failure shows up a month later, not on the day.
- Copy paper, book pages, printed sheets: a glue stick holds these fine.
- Glossy paper: skip it. Glossy stock is the single surface adhesive doesn’t stick to well, and a shiny cereal box front will lift at the corners no matter how hard you press it.
- Anything thick: a bottle cap or a button needs a proper wet glue, and it needs a night to set with the book closed.
I lost a favourite page to a glossy chocolate wrapper before I worked this out. Tear the matte inside of a food box instead and you get the same colour with a surface that actually holds.
Junk journal first page ideas (the welcome page)
A blank first page is the most common place people stall, so give it a job instead of an aesthetic. The job is to say who made this book and when.
An About Me spread does that in one sitting. Little insights like a photo of you, your current age and the dates during which you worked on this journal are a straightforward way to tackle the opening page, and they date the book for you later.
My own opening page is always the same four layers.
- Background: the plainest sheet in the stash, because everything after this page will be busier.
- Big piece: one photo, or one envelope with the flap facing out so I can slip things in later.
- Small bits: two or three, no more. A stamp, a torn corner of a map, a tag with the start date.
- Words: three short lines, always the same three prompts.
Those three lines are worth stealing whole: “Today I noticed…”, “I’m keeping this because…”, “Right now I feel…”. They work because they ask for observation, not for a finished thought. You can fill them in with a receipt in your hand and nothing else to say.
| Prompt | What it asks for | When it helps |
|---|---|---|
| Today I noticed… | One observation | You have a receipt and nothing to say |
| I’m keeping this because… | A reason, not a feeling | The page is one keepsake and no story |
| Right now I feel… | One word is enough | You want a day, not a report |
Write them on the page before you glue a single scrap down. The page stops being blank at that moment, and the pressure drops with it.
If a handwritten opening feels like a risk, set the words in an editable page template and print them.
More opening pages live in journaling ideas and pages.
Junk journal cover ideas from things you already have
The cover is where people spend money they didn’t need to spend. Envelopes and mailers will usually give you the perfect-sized cover for your pages without you having to cut or measure anything, which is the whole problem solved for free.
Covers I keep coming back to:
- A padded mailer, cut along two sides and opened flat. Sturdy, already the right shape, and the printed postage marks are decoration.
- A cereal or cracker box, used printed side in, plain grey side out. Then paste one book page or one piece of old paper texture over the front.
- Fabric over card: a square off an old shirt, glued around a piece of cardboard with the edges folded to the inside.
- A file folder, which is already scored down the middle and already the right weight.
| Cover from | Why it works | What it needs |
|---|---|---|
| Padded mailer | Already page-sized and sturdy | Cut two sides, open flat |
| Cereal box | Free, holds a fold | Printed side in, one sheet on the front |
| Fabric over card | Softens a hard book | Glue the edges to the inside |
| File folder | Scored and the right weight | Nothing but a title |
For a front that reads as vintage without a hunt, paste one printed aged page over the card.
More cover treatments sit in notebook covers and digital stationery, and the stitching side in bookbinding and handmade paper.
On the front, use the same four layers as a page, but cut the count down. One background, one main piece, one or two small bits, a title. A cover with nine pieces on it looks anxious.
Pro tip: decide the cover last, after the pages are in. What the book turns out to be about is usually obvious by then, and you stop guessing at a theme.
Binding, in one paragraph
Two options cover almost everything, and neither needs a tool you don’t own.
- Pamphlet stitch: the simplest book binding method, just three holes and some thread. It’s perfect for mini journals and inserts, and you can make one in under five minutes. It’s also the binding I’d start with, because it’s the easiest and it’s perfectly adequate for notebooks and smaller journals.
- Elastic or ribbon: because your pages aren’t stitched into your cover, you can change the order of them as you work, and you can even remove pages if your journal gets too bulky.
That second point matters more than it sounds. A stitched book locks your decisions in on day one. An elastic spine lets a beginner reorder a book that grew in a direction they didn’t plan.
Vintage junk journal ideas with printable ephemera
Vintage is the look most people are actually after when they say a junk journal, and it’s mostly a colour problem. Brown, cream, faded ink, nothing bright.
Three techniques get you there with paper you already have:
- Tea or coffee dyeing: brush cold tea over plain copy paper, blot the puddles, dry it flat. Uneven is the point.
- Brown ink instead of black: the single fastest way to make handwriting read as old.
- Torn edges, never cut ones: tear towards yourself so the white core of the paper shows along the edge.
Then there’s the honest limit of a home stash. Real vintage ephemera means paper items that were originally intended for temporary use, such as tickets, receipts, postcards, labels, tags and vintage advertisements. Modern junk mail is none of those things. It’s glossy, it’s branded, and it’s the wrong colour.
This is the point where most beginners stall, and I did too: you’ve laid out your four layers correctly, and the page still looks flat, because every piece on it came out of this year’s post. My junk mail is bland and boring is not a mood, it’s an accurate description of a supply problem. The fix is to print the old-looking layer instead of waiting to find it.
Printable sheets solve exactly one thing, and it’s the thing a modern letterbox can’t give you: aged paper, old handwriting, antique labels, all in one handwriting and one colour family, so a spread reads as a single book instead of a scrapbook of found logos.
Before you print a sheet of ephemera, confirm:
- Paper weight. Presentation paper around 100 GSM holds the colour without show-through, and it survives a wet glue without cockling.
- Print settings: best quality, printed at 100 percent, not fit to page, or your labels come out a size that doesn’t match anything else you’ve cut.
- The licence, before you print anything you might later sell or give away.
- Whether the sheet has a print-and-cut layout or a full-page image, because a full-page image means you’re doing the cutting.
Unlimited creative assets. Access to AI tools.
Commercial licence included.
How I test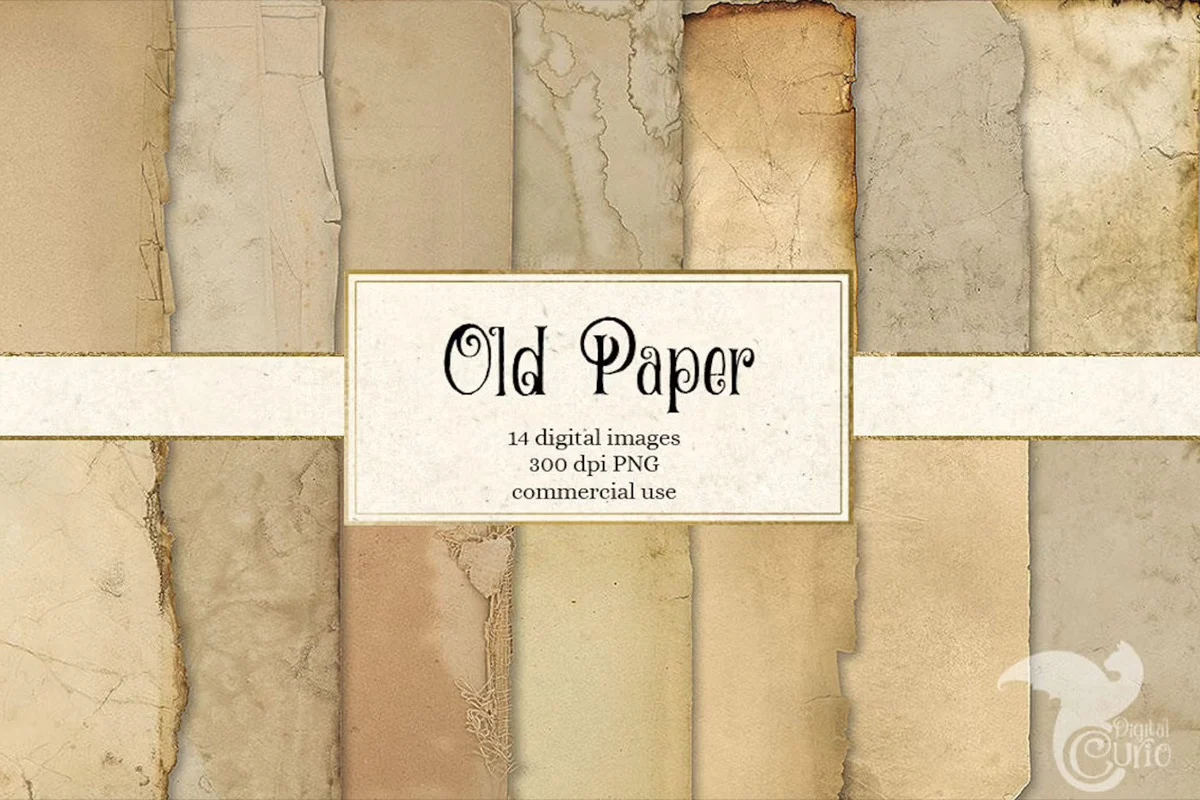
Old Paper Textures
Parchment backgrounds in PNG. This is the background layer, and printing it saves the tea-dyeing step on the days you don’t feel like waiting for paper to dry.

French Music Overlays
Handwritten antique music, high resolution. Printed on thin paper it behaves like the napkin layer: text underneath still reads through it.
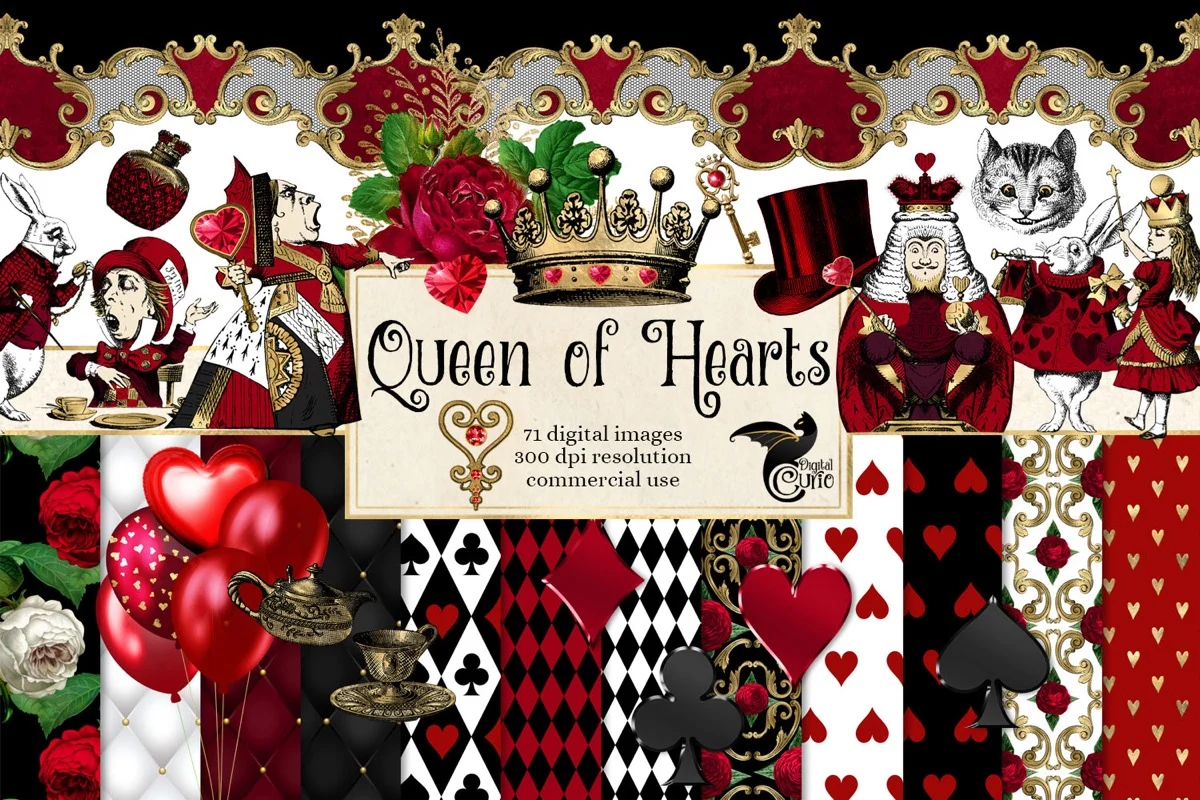
Queen of Hearts Digital Scrapbook Kit
A full set of antique images drawn in one hand, which is what stops a vintage spread from looking like a collection of unrelated scans.
Travel junk journal ideas: tickets, maps and receipts
Travel pages almost build themselves, because the material arrives already sorted by day. The trick is collecting with a page in mind rather than emptying a pocket into a drawer.
What’s worth keeping while you’re out:
- Tickets, boarding passes and entry stubs.
- Menus, and the paper sleeve a coffee cup comes in.
- Maps, including the free tourist ones nobody reads.
- Stamps, labels off bottles, receipts with the place name printed on them.
- Confetti off the floor of a venue, which is a genuinely good trick: picking up confetti from the floor and gluing that into the page puts something on the spread that no shop sells.
The layer stack for a travel spread:
- Background: the map, glued down whole and trimmed at the page edge.
- Big piece: the ticket, or a photo printed small.
- Small bits: three or four. Stamps, a torn menu corner, the receipt.
- Words: the date and the place name. One line.
| Collected on the day | Layer it becomes |
|---|---|
| Free tourist map | Background, trimmed at the page edge |
| Ticket or boarding pass | Big piece, off-centre |
| Stamps, menu corner, receipt | Small bits along one edge |
| Place name and date | Words, written last |
Tickets need somewhere to live before they reach a page, which is what a printable pocket and envelope set is for.
More of these pages sit in travel scrapbooks and journals.
One warning from a page I lost. Till receipts are printed on thermal paper, and the print fades. Write the important part of a receipt onto the page in pen before you glue the receipt down, or photograph it, because in a year the strip may be blank.
Aesthetic junk journal spreads: two colours, one hero piece
The word people reach for is aesthetic, and what they mean is restraint. A spread that feels calm is nearly always doing three things at once.
- Two or three colours, total. Not two favourite colours plus whatever the scraps happen to be.
- One hero piece, clearly bigger than everything else on the page.
- One texture repeated in three places, so the eye travels. The same lace, the same paper edge, the same stamp shape, three times across the spread.
A whole-book version of this is the elegant one. Pick one predominant colour and repeat it throughout your book to create an elegant look. It sounds limiting for about two pages, and then it becomes the reason the finished book reads as one object.
Here’s the honest negative. A monochrome book is a bad idea if you journal to dump your head at the end of a day, because it adds a decision at the exact moment you want none. Keep the single-colour rule for a book you’re making as a gift, and let your daily journal be whatever colour the day was.
| What you cut | What you keep | What you get |
|---|---|---|
| Colours, down to two or three | One family you like | A spread that reads as one page |
| Competing big pieces | One hero, clearly biggest | Somewhere for your eye to land |
| Random textures | One texture, three times | A rhythm across the spread |
Two more layout moves worth knowing, both from spreads that get saved a lot:
- The window page. Glue your photo onto a page, then cut a shape into the previous page as a little frame for your picture. The frame page turns, the photo stays.
- The single-object page. One item in the middle, enormous amounts of empty paper around it, one line underneath. It’s the only layout where empty space is the design.
One repeated texture is the cheapest way to hold a calm spread together, and printed antique music overlays give you the same sheet three times over.
More restrained layouts live in diary ideas and aesthetics and art journals and book journals.
I’ll say the quiet part about the layer method here. Laying a page out by rules gets you a spread that works, but the ones I like best come from breaking the small-bits count on purpose once a book, usually on a page about a bad week.
Seasonal and Christmas junk journal ideas
Seasonal spreads have one difficulty and it isn’t design: the material is only available for about three weeks, and by the time you want to make the page it’s gone.
So collect ahead, in a labelled envelope per season.
- Autumn: leaves pressed flat, brown paper, bronze and rust papers, the labels off spiced things.
- Christmas: gift tags, wrapping paper offcuts, cards you were sent, the stamps off December post, ribbon.
- Spring: seed packets, flower wrappers, the plastic plant labels out of pots.
- Summer: tickets, sand-coloured paper, ice cream wrappers, receipts from places you sat outside.
A rule for pressed things, learned by ruining a page: let flowers and leaves dry completely before adding them to your journal so nothing molds. Damp petals under glue go brown and then furry, and it spreads to the paper around them.
Pressing your own is the slow route. If you don’t have time to wait two weeks pressing your own, a pressed flowers craft pack or a set of botanical rubber stamps gives you the same effect in five minutes. Same page, one afternoon instead of a fortnight.
Christmas pages want one extra thing: a repeated character or motif. A snowman, a robin, one star shape, used on three pages so December reads as a chapter rather than as a stack of red spreads.
The other seasonal problem is colour. Autumn wants bronze and rust, December wants one repeated character, and neither is in your letterbox in the right shade. Printed sheets cover that gap without a shopping trip.
Unlimited creative assets. Access to AI tools.
Commercial licence included.
How I test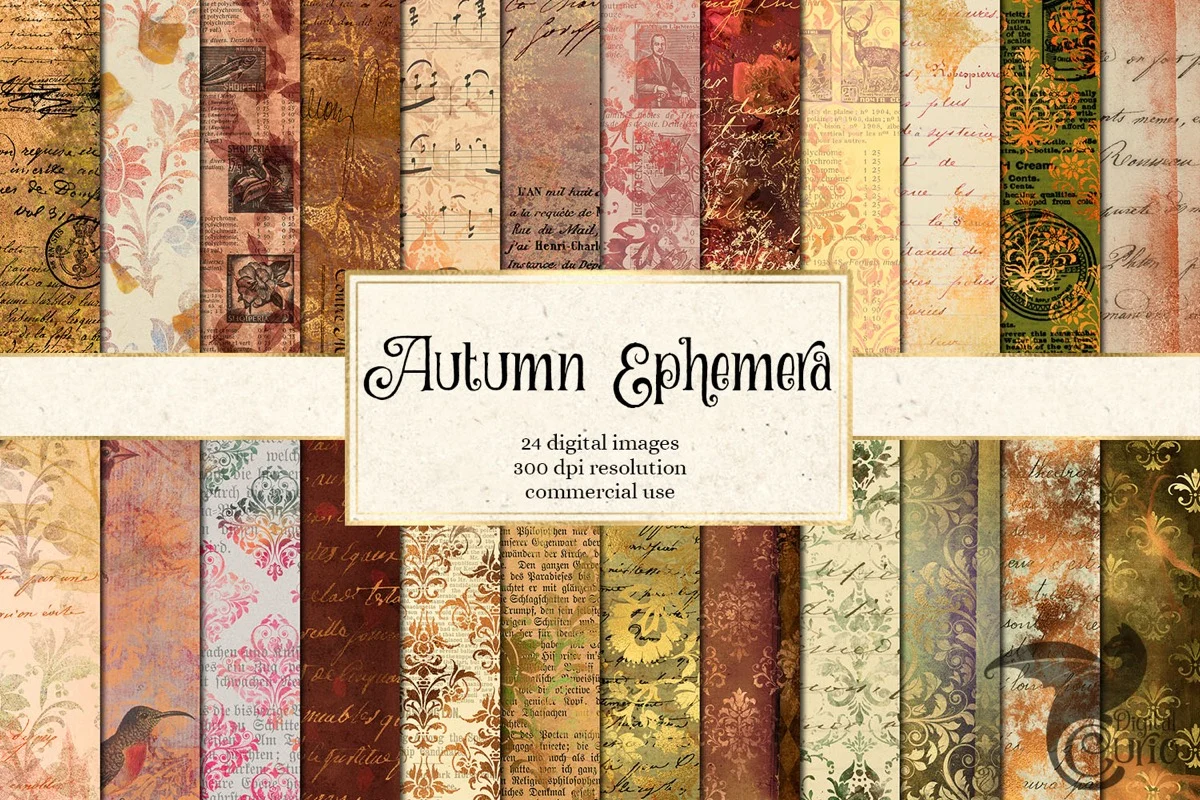
Autumn Ephemera Digital Paper
Bronze and distressed autumn textures for the background layer, so a pressed leaf has something to sit on that matches it.
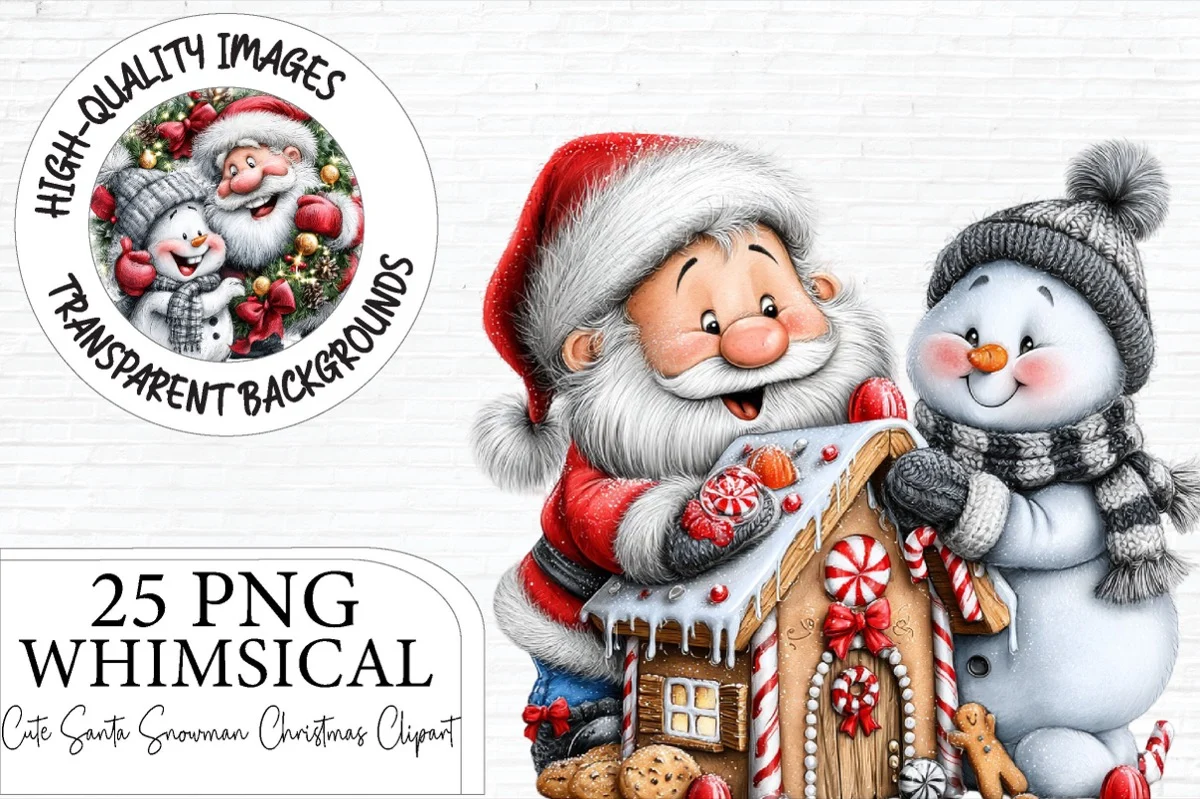
Cute Santa Snowman Christmas Clipart
One character set to repeat across your December pages, which is the trick that turns a stack of red spreads into a chapter.
Junk Journal Folio Templates Mega Kit
Printable pockets and belly bands, which is where the tags and cards you collect ahead of a season actually live until you use them.
Junk journal page layout ideas: pockets, tucks and flip-outs
Interactive bits are what makes a junk journal a junk journal rather than a scrapbook. They’re also where beginners think they need a tutorial and don’t.
- Pocket from an envelope. Cut an envelope in half across, glue the back of the bottom half to the page on three sides. Your pocket is done. Paper bags work the same way.
- Tuck spot. A square of paper glued to the page along two sides only, the corner left open. Slide a tag into the gap.
- Bellyband. A strip of paper wrapped across the page and glued only at the top and bottom on the back, so things slide underneath it. It holds a tag, a photo, a folded note.
- Envelope flip-out. Hinge an envelope into the spine with washi tape so it opens out past the edge of the page. The hinge is the whole trick, and washi is flexible enough to survive being opened.
- Matchbox flap. A tiny hinged flap over a small hidden space. They’re absurdly satisfying to make and they take about two minutes.
- Napkin layer. Paper napkins are printed in layers. Peel off the top printed layer, brush some gel medium on your page, and smooth it down. You get a translucent printed layer that lets the paper underneath show through, which no sticker can do.
| Trick | The one cut | What it holds |
|---|---|---|
| Envelope halved across | Tags, cards, a folded letter | |
| Tuck spot | Square glued on two sides | One tag, corner showing |
| Bellyband | Strip glued top and bottom | A photo or a note, slid under |
| Flip-out | Washi hinge into the spine | A page that opens past the edge |
| Matchbox flap | One fold, one hinge | A small hidden space |
| Napkin layer | Peel the printed top ply | A translucent printed layer |
Printed folios cut the measuring out of all six: a folio and pocket template sheet prints and folds.
More interactive pages sit in mini albums and paper projects and envelopes and letter writing.
All six are flat enough to live in a book that still closes. That matters more than it sounds, because a journal that won’t shut is the most common thing people give up on.
Three fixes for a book that’s swelling: use thinner papers when you can, trim excess paper from fold-outs, and use flat embellishments instead of dimensional ones on every page. The word to notice there is every. One thick thing per spread is a feature. One per page is a broken spine.
Junk journal examples: 15 spreads, what is on each layer
Here is the whole set, laid out the way I actually build them. Read a row left to right and you have the order to glue in. The counts are a guide, not a rule, but they’re the counts that keep a page from reading as a pile.
| Spread | Background | Big piece | Small bits | Words |
|---|---|---|---|---|
| 1. Welcome page | Plainest sheet you own | One photo or one envelope | Two or three: stamp, map corner, dated tag | Three prompt lines |
| 2. Concert night | Torn poster or dark paper | The ticket | Three or four: confetti off the floor, wristband, setlist scrap | Band and date |
| 3. Window page | Plain sheet, photo glued on | Cut frame in the previous page | Two along the frame edge | One line under the window |
| 4. Pocket page | Book page | Envelope pocket, glued on three sides | Three tags inside the pocket | Label on the pocket front |
| 5. Tuck spot corner | Aged or tea-dyed sheet | Square glued on two sides | Two tucked pieces, one showing | Date on the tucked tag |
| 6. Bellyband spread | Any calm background | Strip across the page | Three items slid under the band | Line above the band |
| 7. Flip-out envelope | Plain sheet | Envelope hinged on washi | Two on the flap, two inside | Words hidden inside the flap |
| 8. Napkin layer | Old paper texture | Napkin top layer over half the page | Three small, on top of the napkin | Written over the napkin in pen |
| 9. Pressed botanical | Cream or brown sheet | One fully dried flower or leaf | Two: a label, a torn strip | Plant name and where you found it |
| 10. Tea-dyed vintage | Tea-dyed copy paper | Printed antique label or document | Four: stamps, lace, torn edges | Brown ink, one line |
| 11. One-colour page | Sheet in the book colour | Largest piece in the same colour | Three, all the same colour family | One line, same ink throughout |
| 12. Travel day | Map, trimmed to the page | Ticket or small photo | Three or four: stamps, menu corner, receipt | Place and date |
| 13. Recipe or menu | Brown paper bag | The menu, or the recipe written out | Three: a label off the tin, a stain, a price-free tag | Who you ate it with |
| 14. Seasonal | Paper in the season’s colour | Gift tag, leaf or seed packet | Three, plus one repeated motif | Month, not the full date |
| 15. Deliberately imperfect | Whatever is nearest | Anything, glued crooked on purpose | As many as you like | Whatever you actually thought |
Number 15 is not a joke entry. It’s the one you should make first, and it’s the one I’d make first. The goal is not to make it look perfectly curated, and a page built to prove that to yourself is worth more than a tidy one, because it’s the page you stop being afraid of the book on.
Rows 9, 10 and 14 all want a background you cannot collect, which is where a single antique kit saves the page.
Seasonal versions of these rows sit in seasonal and vintage junk journals.
A junk journaling session doesn’t need an evening either. You can sit down for 10 minutes, glue down random scraps, write a few thoughts, add colour, and walk away feeling calmer than when you started. Fifteen spreads sounds like a project. It’s fifteen coffees.
Free junk journal printables vs paid kits: what you can print and sell
Free printable ephemera is everywhere, and a lot of it is genuinely good. It also has three limits that only show up once you’ve printed it.
- Resolution. A sheet saved at screen size prints soft, and an antique label that’s soft reads as a bad photocopy rather than as an old label.
- Licence. Vintage image sites often describe their scans as royalty free images in the public domain in the US, while saying plainly that they cannot guarantee it. That’s an honest caveat, and it’s fine for a book on your own shelf. It’s not a footing to sell from.
- Mixed houses. Twenty free sheets from twenty sources give you twenty handwritings, and a spread built from them never quite settles.
| What you need | Free sheets | A paid kit |
|---|---|---|
| Print resolution | Whatever you were given | Sized for print, so you can scale it |
| Licence you can point at | Usually a caveat | Written down and downloadable |
| One drawing hand | Twenty sources, twenty styles | A set you can mix blind |
| Books you sell | Risky for you | What you want under a sold book |
Paid kits answer those three things specifically: print resolution, a licence written down, and a whole set drawn in one hand so a spread holds together.
On selling, which is the question people ask last and should ask first: you can sell a junk journal you made, but be careful about copyright if you’re using printed ephemera. Stick to vintage public domain images or designs you’ve created or licensed. That sentence is the whole legal position for a small maker, and it’s why the licence line on a paid kit is worth more than the artwork on it.
Before you sell a finished journal, confirm:
- Every printed sheet inside it is public domain, your own work, or licensed for the use.
- You kept the licence file, not just the images.
- Nothing in the book is a scan of a copyrighted modern product.
- You’ve noted which kit each sheet came from, because a year later you will not remember.
My own shelf rule is simple. Free sheets for the pages that stay in my own books, and a licensed kit for anything I might hand to someone else. The antique kit in the vintage section above is the one I print from most, because every sheet in it was drawn to sit next to the others.
Junk journal FAQ: paper, size, how many pages, can I sell it
| If you are choosing | Take this |
|---|---|
| A size | A5 for a photo and a pocket, travelers size if you collect out of the house |
| A thickness | 20-40 pages, so you finish the book before you tire of it |
| A glue | A stick for flat paper, wet glue for anything with weight |
| A binding | Pamphlet stitch to keep it, elastic if you will reorder pages |
| A first page | Page two, every time |
What is a junk journal?
A book made from paper that was already in your house, filled with layers rather than written on like a diary. Ephemera refers to paper items that were originally intended for temporary use, such as tickets, receipts, postcards, labels, tags and vintage advertisements, and those are the raw material.
What is a junk journal used for, and what do you do with one?
Two jobs, and most people do both. It holds the paper leftovers of a period of your life, and it gives you somewhere to put your head down for ten minutes. You can sit down for 10 minutes, glue down random scraps, write a few thoughts, add colour, and walk away calmer than when you started.
Why do people junk journal?
Because you can express yourself without fear of whether or not it’s good enough. No mistakes, and messiness is part of the charm. That’s a low enough bar to start on a Tuesday, which a blank sketchbook is not.
How do you junk journal for beginners?
Four layers in order: background sheet, one big piece, three or four small bits, one line of words. Do it on the second page, not the first, if the first feels heavy.
What supplies do you need to make a junk journal?
Less than you think. All you need to start is the notebook, some glue or tape, and scissors. Everything else is paper you already throw away.
What junk journal supplies should I collect?
Menus, fruit stickers, wrappers, tin labels, stamps, till receipts, junk mail, old book pages, tickets, confetti, business cards. Collectable lists run long: one maker publishes a printable list of 100+ items you can collect and save for your junk journal.
What is junk journal ephemera?
Paper made to be thrown away: tickets, receipts, postcards, labels, tags, old advertising. Printed ephemera is the same thing produced as a sheet you print yourself.
What are junk journal pages made of?
Anything that takes glue. Book pages, paper bags, envelopes, printed sheets, sheet music, wallpaper offcuts.
What to write in a junk journal?
Start with three prompts and stop worrying about prose: “Today I noticed…”, “I’m keeping this because…”, “Right now I feel…”.
What to put in a junk journal?
Whatever the day handed you on paper, plus one layer you printed to hold it together visually.
Which journal should I use, and can I use a composition notebook?
Yes. A composition notebook is a good first junk journal because it’s already bound and you can tear pages out to make room for what you add. Mini journals enable you to experiment with small pieces of ephemera, little tuck spots and embellishing your pages to help you get a feel for how it all works, so a small book is the low-risk start.
What is the best junk journal size?
The most popular sizes are A5 (5.8 x 8.3 inches) and travelers notebook size (about 4.3 x 8.3 inches). A5 gives you room for a photo and a pocket on one page. The narrow size fits in a bag, which matters if you collect while you’re out.
How thick should a junk journal be?
Most junk journals have 20-40 pages. Fewer than that and it fills up before the season does. More and it stops closing once you’ve added pockets.
What is the best junk journal glue?
A glue stick for flat paper, a wet glue for anything with weight. The only thing I’d avoid is super glossy paper because adhesive doesn’t stick to it well, which is a paper problem rather than a glue problem.
How do I bind a junk journal?
Start with the 3-hole pamphlet stitch. It’s the easiest binding method and perfectly adequate for notebooks and smaller journals: just three holes and some thread, and you can make one in under five minutes.
Which junk journal binding method should you choose?
Pamphlet stitch if the book is small and you want it permanent. Elastic or ribbon when reordering pages later matters, because pages that aren’t stitched into the cover can be moved or removed when the journal gets too bulky.
How do you add pockets and interactive elements?
Envelope glued on three sides for a pocket, a square glued on two sides for a tuck spot, a paper strip glued at top and bottom for a bellyband, washi tape as a hinge for anything that flips out.
How long does it take to make a junk journal?
The binding is an evening at most, and a pamphlet-stitched one is under five minutes. Filling it is the long part, and it’s meant to be: ten minutes at a time, for as long as the book is the right book for you.
How much does it cost to make a junk journal?
Almost nothing, if you build it from what’s in the recycling. The spend, when there is one, is on paper to print on and on sheets to print, and a free plan or free sample sheet covers a first book.
How to junk journal receipts?
Copy the important line onto the page in pen first, then glue the receipt down. Thermal paper fades, and a blank strip is worse than no strip.
How to junk journal on iPad?
Digitally, you’re layering the same four levels in a notes or drawing app: background paper, one hero image, small cut-outs, text. The method carries over, the glue problems don’t.
How to junk journal for kids?
Give them the pocket page and the tuck spot first, skip the vintage colour rules entirely, and let them use the bright junk mail you’d reject.
What are the best tips for your first junk journal?
Start on page two. Work in four layers. Keep the small-bits count under five. Let the background dry flat before you add to it. Finish one spread before you start another.
Can I sell a junk journal I made?
Yes, with care about copyright if you’re using printed ephemera: stick to vintage public domain images or designs you’ve created or licensed.
Why make junk journals, and why do junk journaling at all?
Because paper you would otherwise bin becomes a record of a month, and because a spread takes ten minutes rather than a talent.
What does junk journal mean?
The junk is the material, not the standard. It means a book made from paper that was already on its way to the recycling.
What is junk journaling for beginners, in one line?
Four layers on paper you did not pay for, in order, started on the second page of the book.
What are junk journals used for?
Holding the paper leftovers of a period, and giving you ten quiet minutes. Some people also make them to sell or to give away.
What are junk journal signatures?
A signature is a small stack of pages folded once down the middle. Sew two or three of them into a cover and the book lies flat when it opens.
What is the best junk journal notebook or book to start in?
A composition notebook or a cheap A5 sketchbook. Both are bound already, and you can tear pages out to make room for what you glue in.
Can you junk journal with a spiral notebook?
Yes, and the coil is an advantage: the pages have somewhere to go as the book swells. Keep the thick pieces away from the coil edge.
What are the best junk journal supplies and kits?
Almost nothing, then one printed set. A glue stick, scissors, and one printable ephemera kit covers the layer your recycling cannot.
What is the best junk journal glue stick?
Any solid stick that goes on white and dries clear. The failure is never the brand, it is glossy paper and heavy objects.
Is a junk journal subscription box worth it?
Only if you would not otherwise collect. A printed sheet asks less of you and lets you choose the colour family, which a box does not.
What do junk journaling examples look like in practice?
The 15 rows in the table above are the examples: each one names the background, the big piece and the small bits, so a spread is a shopping list rather than a mood.
Where do I find junk journal ideas when I’m stuck?
Pick a constraint instead of a theme. One colour, one pocket, one photo. The 15 junk journal spread ideas in the table above are all constraints in disguise, which is why they’re easier to start than a blank theme like “autumn”.
Key takeaways
You can run the whole list from four rules, and you already have the paper for all of them.
- Every spread is four layers in order: background sheet, one big piece, three or four small bits, one line of words.
- Nine or ten pieces per spread is the ceiling that keeps a page from reading as a pile.
- Glossy paper is the one surface to avoid, because adhesive doesn’t hold on it.
- Most junk journals have 20-40 pages, and the two common sizes are A5 (5.8 x 8.3 inches) and travelers notebook size (about 4.3 x 8.3 inches).
- Pockets, tuck spots, bellybands and flip-outs are all one cut and one line of glue each.
- Let pressed flowers and leaves dry completely before they go in, or they mold in the book.
- Thermal receipts fade: write the line you care about onto the page before you glue the receipt down.
- Selling a finished journal is fine on public domain, your own, or licensed artwork, and the licence file is the part to keep.
If one thing on this list is worth printing, it is the background layer: a set of aged paper textures turns a page of this week’s junk mail into a spread that reads as one book.
Next pages to try: junk journal ideas and layouts, scrapbook ideas and design and paper crafts and templates.