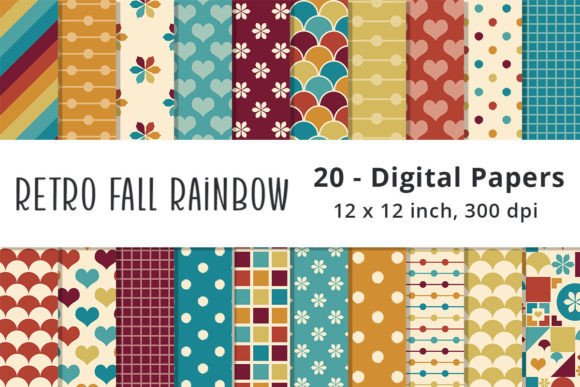
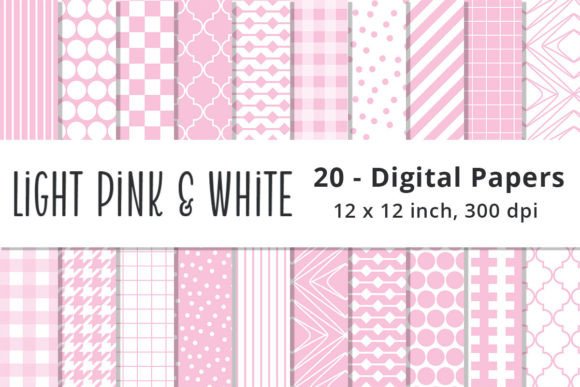
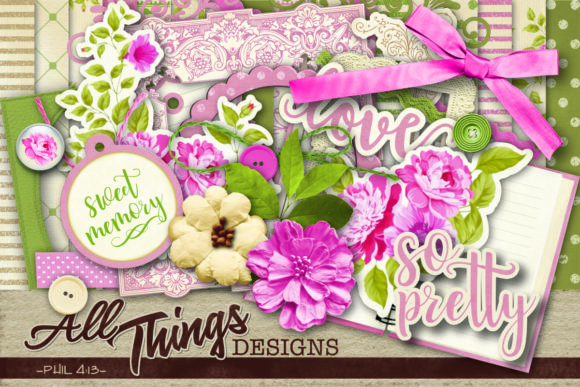
The right scrapbook layout depends on your photo count and page size, not the occasion, and a messy page usually starts with picking the theme first. A 12 x 12 page holds one large photo or a grid, an 8 x 8 page suits a small cluster, and a whole trip needs two pages.
If you have ever glued a page and then seen it look crowded, these 11 scrapbook layout ideas are sorted by how many photos you have, so you pick one in a minute and dry-fit it before any glue.
A scrapbook layout works when one photo leads, the writing has its own block, and a fifth of the page stays empty.
Quick answer: one big photo gets the focal layout (idea 1), four to six small photos get a grid (idea 2), and a whole trip gets a two-page spread (idea 4).
What is a scrapbook layout?
I judge every page the same way: you should know where to look in two seconds.
A scrapbook layout is the plan for where photos, journaling and decoration sit on one page or a two-page spread. Every layout balances three zones: a focal point, a journaling block, and negative space, the open area that lets the eye rest. Keeping about 20 to 30 percent of the page open is the common guide. A layout is separate from the design, which covers colour and paper choices.
| Idea | Best for | Style · Pages · Skill | Avoid if |
|---|---|---|---|
| 1. 12×12 focal layout | one big photo with a title | Style: clean · Pages: 12×12 · Skill: beginner | a sticker covers a face |
| 2. Even grid | four or six small prints | Style: tidy · Pages: 12×12 · Skill: beginner | you cannot keep gaps even |
| 3. 8×8 cluster | a few small photos | Style: tight block · Pages: 8×8 · Skill: beginner | you have more than three prints |
| 4. Two-page spillover | a whole trip | Style: story · Pages: 2 · Skill: intermediate | the strip stops at the fold |
| 5. One-photo journaling page | a photo that needs words | Style: writing · Pages: 1 · Skill: beginner | stickers eat the writing space |
| 6. Pocket page | tickets, tags and notes | Style: layered · Pages: 1 · Skill: beginner | you need more than one pocket |
| 7. Mini-album folio insert | one event with too many prints | Style: foldout · Pages: insert · Skill: intermediate | the album will not close |
| 8. Labelled collage | many small prints with names | Style: caption · Pages: 1 · Skill: beginner | captions are unreadable later |
| 9. Shadow-box baby page | a baby milestone photo | Style: 3D · Pages: 1 · Skill: intermediate | the page holds many photos |
| 10. Holiday music-paper spread | a December double page | Style: seasonal · Pages: 2 · Skill: beginner | the background is busy |
| 11. Leftover-prints page | prints that earned no page | Style: rows · Pages: 1 · Skill: beginner | nine mixed sizes crowd it |
How do you choose a scrapbook layout?
Choose by what you are short of: space, time or words. Three checks decide whether a page looks planned.
- Photo count against page size: 2 to 3 prints on an 8 x 8 page, 4 to 6 on a 12 x 12, more only in tidy rows.
- Clean print and crop: frames and labels that crop to one shape before printing beat trimming by hand, and free pages rarely give you matching crops.
- Enough pieces for the whole album: one paper family and one set of labels keep ten pages looking like one book.
1. 12×12 focal layout with one large photo
A 12×12 focal layout lets one large print do all the talking on the standard album page. Set the print slightly off-centre and keep everything else small, so nothing competes with it. Cluster paper scraps, dried florals or stickers in one corner of the print.
- Best for: one big photo with a title.
- Avoid for: a print that has faces near the corner cluster.
- Pick the one photo you would show a friend first and print it large.
- Set it a little off-centre, not dead in the middle.
- Group embellishments in odd numbers, three or five, so they form a triangle.
- Keep a good share of the page empty so the eye can rest.
It breaks when the corner cluster creeps across the photo. If a sticker covers a face, move the whole cluster, not just the sticker.
2. Even grid of four or six small squares
An even grid is the tidiest answer when you have several photos and no patience for chaos. The blocks decide where everything goes, and the gaps do the design work. If you plan your pages on paper, a simple to do list template helps you tick off each step.
- Best for: four or six prints of one size.
- Avoid for: a page where one gap is crooked, because the whole page looks off.
- Choose 2, 4 or 6 square prints.
- Lay them out symmetrically with even gaps.
- Use the last square for the caption or title.
- Keep the page edge clear by a quarter inch so a sheet protector will not clip anything.
Measure the gap once on scrap paper, then reuse that strip as a spacer for every print.
3. 8×8 cluster for several small photos
An 8×8 cluster loosens the rules for a small page, where a strict grid feels tight. The photos sit close together and read as one block, and they only need a shared border of open page around the group.
- Best for: two or three small photos on an 8 x 8 page.
- Avoid for: four or five photos added just because they were nearby.
- Keep it to 2 to 3 small prints.
- Group them in one block, tight in the middle.
- Leave open space on all four sides.
- Put the caption on one side, not squeezed between prints.
Fewer photos often make a cleaner page, so keep the extras for another spread.
4. Two-page spillover for a whole trip
A two-page spillover treats two adjacent pages as one canvas, so a whole trip fits without shrinking every photo. One element runs across both pages, a strip of patterned paper or a trail of small stickers.
- Best for: a holiday trip with an overview photo.
- Avoid for: a spread where the strip stops at the fold.
- Put the overview photo large on the left page.
- Run one strip of paper or one line of stickers across both pages.
- Place smaller moments along that line on the right page.
- Group buttons or stickers in threes or fives.
Keep one piece crossing the gutter on purpose, or the spread splits into two pages.
5. One-photo page with a journaling block
A one-photo page gives the writing as much room as the picture. The block holds names, dates and context, and without it a scrapbook is only a photo album. For doodled borders around the block, borrow from these cute doodles ideas.
- Best for: a photo that needs a story.
- Avoid for: a page that you decorate with stickers first.
- Choose a single photo and place it.
- Reserve a block for names, dates and context.
- Write the story in two sentences on scrap paper first.
- Keep the block a quarter inch from the page edge.
Leave the stickers out, because they stop supporting the story.
6. Pocket page for loose ephemera
A pocket page holds tickets, tags and notes you want to pull out again, like the loose pieces in a junk journal spread. You are placing objects here, not only photos.
- Best for: tickets, tags and handwritten notes.
- Avoid for: a page with more than one pocket, which bulges.
- Cut the pocket to fit the item you tuck in.
- Glue the sides and bottom, and leave the top open.
- Place a tag so a little shows above the edge.
- Keep the pocket inside the quarter-inch margin.
You do not need to fill the pocket on day one. Cozy printable pages make a calm break while you decide what stays.
7. Mini-album folio insert
A mini-album folio insert tucks inside the spread and opens to more room when one event has too many photos for a page. It holds photos and words, not the loose objects a pocket holds.
- Best for: one event with too many prints.
- Avoid for: an album that is already thick.
- Print and cut the folio first.
- Fold before you decorate.
- Decorate each panel, with one focal photo per panel.
- Glue the finished folio into the page last, with the outer edge a quarter inch clear.
Fold a spare sheet of copy paper first, which costs nothing and shows the thickness. If it does not sit flat when the album closes, the real folio will not either.
8. Collage cluster with labelled captions
A labelled collage packs many small prints into one block and names each one. A year later you will not remember who is who unless each print has a label, and a quiet evening with cozy coloring pages is a good time to write them.
- Best for: many small prints with names and dates.
- Avoid for: handwriting you cannot read later.
- Group the prints into one block.
- Add a small label under each one.
- Write names, dates and context.
- Check that the labels do not cover faces.
Print the captions instead of writing them, and keep each to a name and a place. For tiny drawings beside the labels, try these mini doodles ideas.
9. Shadow-box page for a baby milestone
A shadow-box page gives a baby milestone depth: the photo sits inside a layered frame instead of lying flat. The same layered idea runs through these pop-up card ideas.
- Best for: one milestone photo.
- Avoid for: a page with many photos, because the frame holds one.
- Cut all ten layers of the frame file.
- Stack them with spacers between each layer.
- Set the photo behind the front layers.
- Glue the finished frame to a plain page, leaving a quarter inch clear.
It breaks when the stack gets too tall and the album will not close, so test with the cover shut before gluing.
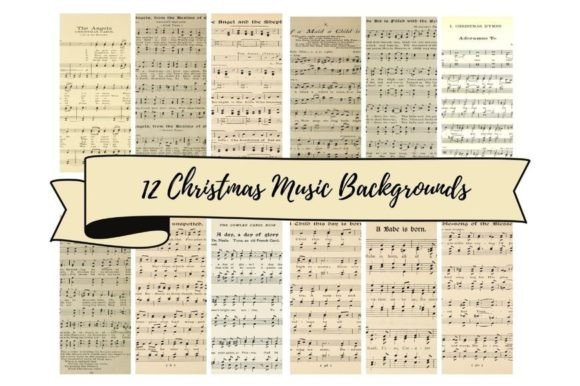
10. Holiday double page on music paper
A holiday double page on music paper gives both pages one shared background. The background carries the mood, so the photos can stay simple. For calmer pages between holidays, aesthetic coloring pages make a quiet filler.
- Best for: a December spread.
- Avoid for: a busy background, which hides the photos.
- Print the music background on both pages at full size, not fit to page.
- Place the main photo large on one page.
- Carry one border strip across the fold so both pages read as one.
- Add a short journaling block.
Keep the stickers few and group them in threes, so the photo is still the first thing your eye lands on.
11. Multi-photo page for leftover prints
A multi-photo page gives leftover prints one shared block. You do not need matching prints here, which sets it apart from the grid. A common guide is about 4 to 6 photos on a standard page, and a photo grid takes 4 to 9 in tidy rows.
- Best for: prints that did not earn their own page.
- Avoid for: nine prints of mixed sizes.
- Sort the leftovers by size and drop the weakest.
- Arrange the rest in tidy rows with small gaps.
- Add a small caption or a patterned-paper accent under each row.
- Sketch the arrangement before you glue.
Fewer photos often make a cleaner page, so cut down to what fits.
How do you dry fit a scrapbook page before you glue?
Lay every piece on the page before a single drop of glue, then step back about four feet or photograph it with your phone. Check that the eye lands on the main photo first, not on a sticker, and remove pieces until it does. Confirm that names, dates and the story are on the page. A moved print costs nothing; a glued one costs the page.
I do this on every page. I photograph it, I remove one piece, and I look again. You will see the crowding on a phone screen before you feel it with your hands.
You can also ask yourself where your eye lands first. If you cannot say, you move something. I trust that test more than any rule.
Layout or design: which one are you fixing?

If the photos sit wrong, the layout is the problem. If the page looks off but the photos sit fine, the design is the problem, and that is a different job. For colours, palettes and paper choices, start with these scrapbook design ideas.
If it goes wrong
I check each of these before I glue, and you can too.
- Crowded page: remove photos until the page breathes, since fewer photos often make a cleaner page.
- Decorations cover photos: move the cluster to one corner.
- Too many colours: stay with one paper family.
- Missing names and dates: add a journaling block.
- Edges clipped: keep a quarter inch clear for sheet protectors.
Key takeaways
- Choose by photo count and page size first, the occasion second.
- Leave breathing room on every page.
- Group embellishments in threes or fives.
- Sketch and dry fit before you glue.
- Keep a quarter inch clear at the edge.
When the free version isn’t enough
Free pages and loose scraps are fine for one page, but a whole album needs the same frames, labels and paper family on every spread, and mixed sources rarely match. A set of printable frames or labels cut once and reused is what makes ten pages look like one book. Photo albums is a good starting point when you want even crops.
Common questions
What are the best scrapbook layouts?
The best scrapbook layouts match your photo count and page size: a focal layout for one photo, a grid for four to six, and a cluster for a few small ones. The page looks planned when 20 to 30 percent of it stays open.
What are the best scrapbook layouts for 3 photos?
Put three photos in a small cluster with open space on all four sides and the caption on one side. This works on an 8 x 8 page and on a 12 x 12 page. Fewer photos often make a cleaner page.
What are the best scrapbook ideas for school project pages?
Use a grid with one square for the title and one for the caption. It keeps several photos tidy and leaves room for names and dates, so the project reads clearly to a teacher or a grandparent.
How do you make scrapbook pages step by step?
Pick the format, place the main photo, add the journaling block, add small pieces in threes or fives, then dry fit and glue. Leave about 20 to 30 percent of the page open and keep a quarter inch clear at the edge.
How do you make scrapbook pages in Canva?
Open a Canva frame template, drop in your photos and add a caption. Print at full size, not scaled to fit, and test on plain copy paper first so the crops match your page.
How do you print digital scrapbook pages?
Open the file and print at full size, not fit to page, on the paper size the file was made for. A US Letter file prints at 8.5 x 11 inches, so cut it to the album page after printing.
How do you put scrapbook pages in a book?
Slide pages into plastic sheet protectors, keeping a quarter inch of margin clear so nothing is clipped. Check that the album still closes before you add the last page.